Growing Mint Indoors in Pots: Light, Watering & Harvest
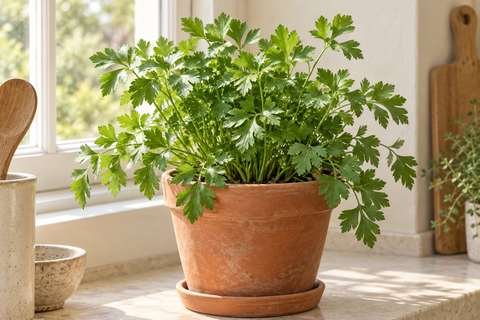
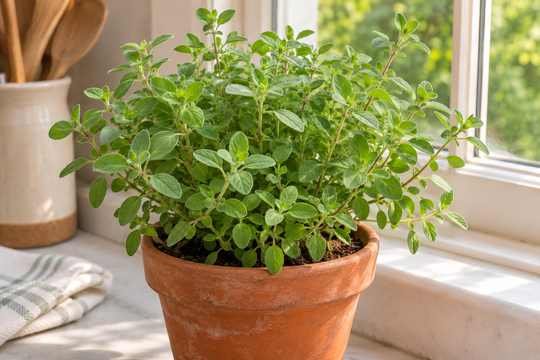
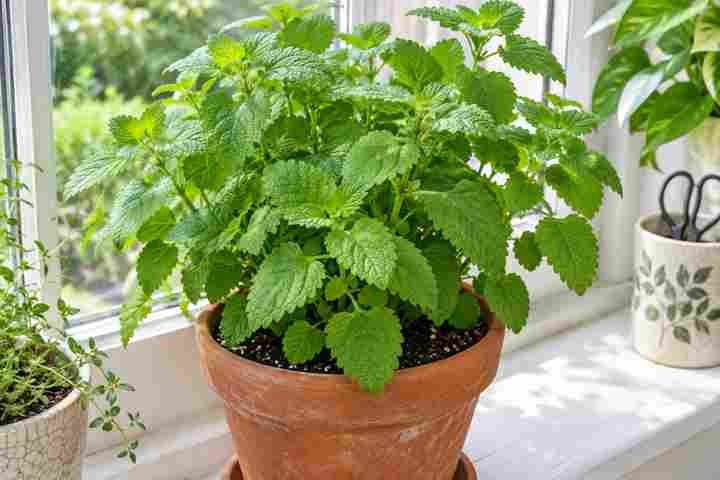
How to grow mint indoors: Start with a healthy culinary mint plant, place it in bright light and use a pot with drainage holes. Growing mint indoors in pots works best when you check the growing mix regularly instead of following a rigid watering schedule. Keep its growing mix evenly moist without leaving the roots standing in water, and harvest lightly while the plant settles into its new conditions.
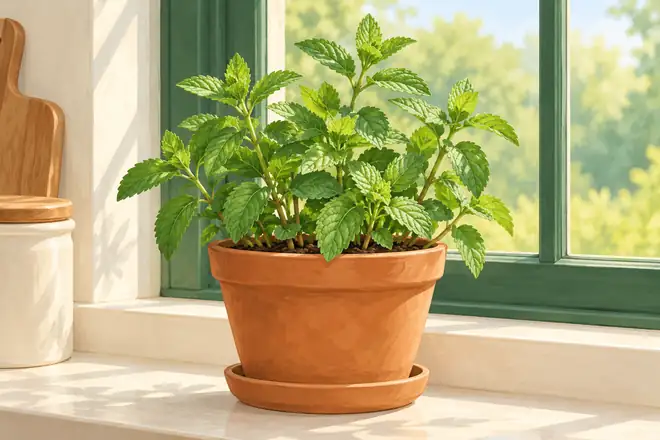
Mint plants in pots are easier to manage when each vigorous plant has its own container. Use a saucer to protect the windowsill, but empty standing water after watering. Bright light and enough remaining leaves help a harvested plant replace the sprigs you pick.
Mint can be a useful kitchen herb, but a dark shelf and an occasional splash of water are not a reliable setup. This guide covers choosing a plant, potting it, adjusting light and moisture, harvesting and checking common problems. For the wider arrangement, see our windowsill herb garden guide. If your window is dim, use the practical grow-light distance and timer guide to plan supplemental lighting.
Which mint should you grow indoors?
Choose a correctly labelled culinary plant from a reputable nursery or herb supplier. Spearmint and peppermint are familiar options, with different flavours. Buy the one you want to use rather than identifying an unknown plant by a minty smell alone. Keep the label so you can check the variety’s size and growing advice.
The RHS mint guide recommends choosing named plants suitable for the intended use. It also explains that division and cuttings preserve the parent plant’s characteristics, which is useful when a variety does not come true from seed. A young purchased plant or a healthy rooted cutting is a practical starting point; seed growing is a separate route with its own instructions.
Inspect the leaves, stems and growing mix before bringing a plant into your herb collection. Avoid treating a struggling, crowded supermarket pot as though it is already established in your home. Give a new plant time to adjust and check it separately before placing it beside other indoor herbs.
Give mint its own pot with room to grow
Mint spreads through underground stems and runners. Its own container makes root space and watering easier to manage than a shared pot of mixed herbs. University of Maryland Extension’s mint advice describes its vigorous spreading habit and suggests containers about 12–16 inches (30–41 cm) across for garden-grown mint. Treat that as a mature-container reference, rather than a compulsory size for a tiny indoor cutting.
Match the next pot to the root ball and available growing space. A very large volume of damp mix around a small plant can be difficult to manage indoors. Plan to repot or divide an established clump as it grows, instead of expecting a small decorative pot to remain suitable indefinitely.
Use an ordinary plant pot with drainage outlets. If you prefer a decorative outer pot, keep the plant in a removable inner container and empty water that collects underneath. Our container drainage guide explains outlets, saucers and the different overflow arrangement in reservoir planters.
Pot a young mint plant in four steps
- Prepare the container: check its drainage and make sure it sits securely on the sill or stand.
- Add growing mix: use a suitable container medium, moistened as its label directs. US labels commonly say potting mix; UK products often say potting compost.
- Position the root ball: remove the nursery pot gently, support the roots and keep the plant at its previous planting level. Fill around it without burying the stem base unnecessarily or packing the mix hard.
- Water and drain: water gently into the mix, let excess escape and empty the saucer. Leave room below the pot rim for later watering.

RHS advice on herbs in containers notes that mint benefits from moist growing conditions and may need refreshing or repotting when it becomes straggly, while warning against overpotting. Judge the roots, growth and moisture behaviour together before moving it into a much bigger pot.
How much light does indoor mint need?
Start at a bright window and observe the sunlight reaching the leaves. Outdoor tolerance of partial shade does not mean a mint plant will produce useful growth in a dim indoor corner. Buildings, curtains, overhangs and the season can all reduce light even when the room looks bright.
Iowa State’s indoor herb guidance identifies light as a major limitation and includes mint among suitable indoor herbs. If daylight is inadequate, use a suitable grow light and follow its coverage and distance instructions. Its guide suggests a timer providing 12–16 hours of supplemental light daily; the appropriate setup also depends on the fixture and natural light available.
Turn a naturally lit pot periodically if growth is leaning toward the window. Keep foliage away from cold glass, strong drafts and heat vents. Illinois Extension’s indoor herb advice discusses rotating plants for more even growth and avoiding drying heat sources. Our indoor growing system comparison can help when choosing between pots with a lamp and an integrated setup.
Water for moist roots without waterlogging
Check the growing mix rather than watering every pot on a fixed calendar. Mint generally prefers more consistent moisture than herbs such as thyme, but it still needs air around its roots. Feel the mix near the surface, notice the pot’s weight and check whether the previous watering has drained.
When water is needed, apply it gently to the mix so the root ball is moistened. Let excess drain, then empty the saucer or decorative outer pot. Avoid repeated tiny splashes that wet only the surface, and do not let the root ball become completely parched between checks.
The University of Maryland’s indoor herb guide emphasises drainage and avoiding overwatering. For a fuller checking routine, use our container watering guide. Reassess after repotting, moving the plant or changing its light; water use will not stay constant throughout the year.
Feed lightly and reassess crowded roots
Check whether the growing mix already contains fertiliser before adding more. Follow a product suitable for herbs and its application instructions. A plant with weak growth may need better light or root conditions rather than extra feed, so investigate the basics first.
If roots fill the pot, the plant dries unusually quickly or older crowded growth becomes difficult to manage, consider repotting or division. Examine the clump rather than following an automatic monthly repotting schedule. Trim spreading shoots that reach neighbouring pots, and keep the plant easy to remove for inspection.
Harvest mint so healthy growth remains
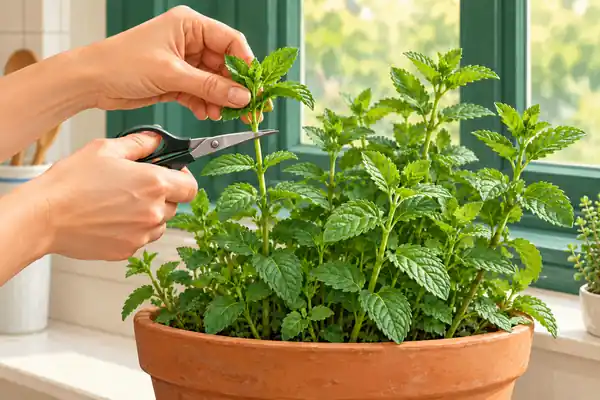
Let a newly potted plant settle and produce healthy growth before taking substantial harvests. Use clean scissors to snip a leafy stem just above a leaf pair, leaving foliage and growing points on the plant. Take a few tips from a vigorous plant instead of stripping all its leaves at once.
Iowa State recommends removing the top third of growth when harvesting perennial herbs such as mint. Treat the plant’s condition as the limit: a recently transplanted or struggling plant may need a lighter harvest or a pause. Regular modest trimming can keep the pot manageable as new growth develops.
Common indoor mint problems: what to check first
| What you notice | Checks to make | Practical next step |
|---|---|---|
| Long, thin growth leaning toward the window | Light reaching the leaves and shading from nearby plants | Improve light and leave recovery growth before heavy harvesting |
| Wilting with dry, light growing mix | Root-ball moisture and recent heat exposure | Re-moisten gently, drain and reassess your checking routine |
| Wilting or yellowing while the mix stays wet | Collected water, drainage and root condition | Empty standing water and investigate before adding more |
| The pot dries quickly again and again | Root crowding, pot capacity and growing conditions | Inspect roots and consider a suitable larger pot or division |
| Damaged or sticky leaves, insects or webbing | Leaf undersides, stems and neighbouring plants | Separate the affected plant and identify the problem before treatment |
These checks narrow the possibilities; one symptom alone is not a diagnosis. If treatment is needed, use guidance and products appropriate for an edible herb, including any harvest restrictions on the label.
What changes in winter?
Mint is a perennial and may slow down or die back seasonally. Indoor warmth does not replace adequate light, and keeping a pot inside does not guarantee continuous harvests. Reduce harvesting when growth slows and adjust watering to the mix and plant rather than copying the summer routine.
Recheck light as days shorten. If you move the plant outdoors in a suitable season, acclimatise it gradually to the new conditions. Browse our Indoor Herbs guides for more plant-specific care and small-space setup ideas.
Frequently asked questions
Why are my indoor mint leaves turning yellow?
Yellow mint leaves can have several causes, including roots staying wet, insufficient light, or normal aging of older leaves. Check the moisture below the surface and confirm the pot drains freely before changing your watering routine. Move the plant gradually to brighter indirect light if its position is dim.
Can mint grow indoors without a grow light?
Yes, when the window provides enough light for healthy growth. Observe the plant and actual sunlight. If stems stretch or seasonal light becomes inadequate, suitable supplemental lighting may help.
Should indoor mint be watered every day?
Check the mix and water when needed. Pot size, roots, light and room conditions change how quickly it dries. Daily checking does not mean daily watering.
Can I grow mint permanently in a jar of water?
Rooting a cutting in water is different from maintaining a long-term hydroponic plant. Plain water in a jar should not be treated as a complete growing system. This guide uses a drained pot and suitable growing mix for ongoing care.
Can mint share a pot with other herbs?
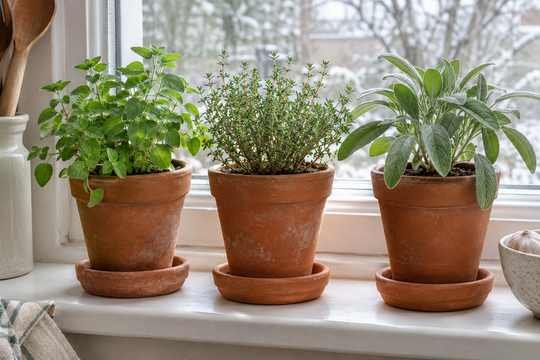
Its spreading habit and individual moisture needs make a separate pot easier to manage. You can place pots together on a sill while keeping their roots and care separate.